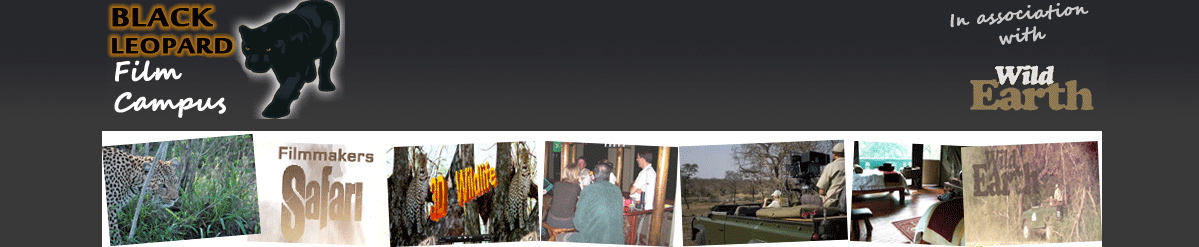

I've been asked lately about the camera rigs we have used to produce 3D shows, so I've added some pictures of one of our rigs that we use to teach the principles of shooting 3D at the Black Leopard Film Campus
Shown
above is the mirror rig (also known as a beam splitter) that we used with
Safari Television to film over 800 hours of live wildlife footage and
subsequently used to produce a 13 part 3D series as well as a 3D wildlife
dictionary dvd.

This
rig was mounted on a vehicle and traversed the African bush for over twelve
months, so it is a credit to the manufacturers (who built it to our own
specification), that it has survived and is still in working order twelve
months later.
This
rig epitomises the innovation that is often needed to overcome technical
difficulties, especially when operating in remote locations, and it is
exactly this form of innovative thought that we encourage our students to
follow.

As
can be seen this is a mirror rig (also known as a beamsplitter rig) that uses
two motorised cameras whose relative position to each other can be altered to
affect both interoccular and convergence. In this case operator control is
achieved by a locally mounted mini pc running software we developed.
How does a mirror rig work?
As
can be seen, a mirror rig has one camera pointing at the action and another
pointing at a mirror that is beside the first camera.
This
allows the interaxial distance to be as small as required. In our case we
controlled (motorized) one cameras to allow the interocular distance to be
adjusted.
By
adjusting the interaxial distance the 3D filmmaker can play with the scale of
subjects being filmed.
I
have thrown in two terms above (interocualr and convergence) which may not be familiar
to some of you, so let me define these a little more. Although we obviously
will go into a lot more detail on our courses.
Interocular distance
The
interpupillary or interocular distance is the distance between your two eyes
which gives us binocular vision i.e. allows us to distinguish depth. 3D camera
rigs simply mimic this binocular vision by using two lenses and
the distance between the two lenses is known as the interaxial distance.
Of-course
your eyes are relatively close together (some more than others!), however some
cameras are too large to be mounted side by side and still replicate the
binocular effect i.e. the achievable close range is limited as the cameras can
not physically converge at the required distance.
When
a 3D filmmaker needs to use a small interaxial distance, they can use a mirror
or beamsplitting rig. In our case, when filming the 3D safari series, we needed
to converge on a presenter 1.5m from the camera and than swing to animals that
could be anything up to 50m away, so we required a mirror rig.
Convergence and depth of field
In
the same way that the your eyes converge at a point to help your brain
establish depth, the 3D filmmaker also needs to consider convergence control.
To
put this simply, if the two cameras are parallel then objects being filmed can
appear two far away. To make the filmed image appear in front of, or slightly
behind the TV screen, we need to angle the cameras slightly towards each other
(heel to toe). The point at which the two shots of the camera meet is called
the convergence point.
Depth-of-field
describes how much of the image is in focus. For example a shallow depth of
field could be used in 2D portrait photography to blur the background and give
a pleasing effect.
However,
in 3D filmmaking we want the viewer to focus on certain parts of the image that
are not always the closest. In these instances, depth-of-field becomes a tricky
technique to master, and is one we will practice on our course.
If
you would like to learn more about 3D Wildlife Filmmaking then get in touch (Carol@blackleopardcampus.net) and join us in the
African bush and we’ll set you on the road to a career as a wildlife filmmaker.
Written
by Will Fox